This very short article will guide you through the quick process of setting DHUB
Once you receive an invitation to DHUB please click the link to sign up and then the Resident logo to link your Resident account with it.

Below you can find essential tips which should make it easy to start with DHUB.
1. Once you set up your account you can add more users by clicking on your name in the top right corner and selecting Global Settings. From here, click ' + ADD USER '. They will then show on your user list for you to tick their permissions and also the 'three dots' next to their email address to Send invitation.

2. DHUB currently is processing the following formats of invoices: PDF, JPG, PNG, DOCX (we convert it to PDF)
3. You can either upload files manually or set up (in Plugin Settings) a dedicated inbox from which files can be pulled.

4. If you set up an inbox every email attachment will be converted into a potential invoice record in DHUB. Emails without attachments will be turned into PDFs and also processed as invoices.
5. You can automatically send invoices to OCR and after approval to Resident. Both those actions can also be managed manually.
- You turn on/off this setting in Plugin Settings

6. Invoice workflow:
a) Invoice is received (from synchronised email or a manual upload) into DHUB and starts at either 'To Verify' automatically if sent to OCR automatically OR goes to 'In Progress' if not set to auto.

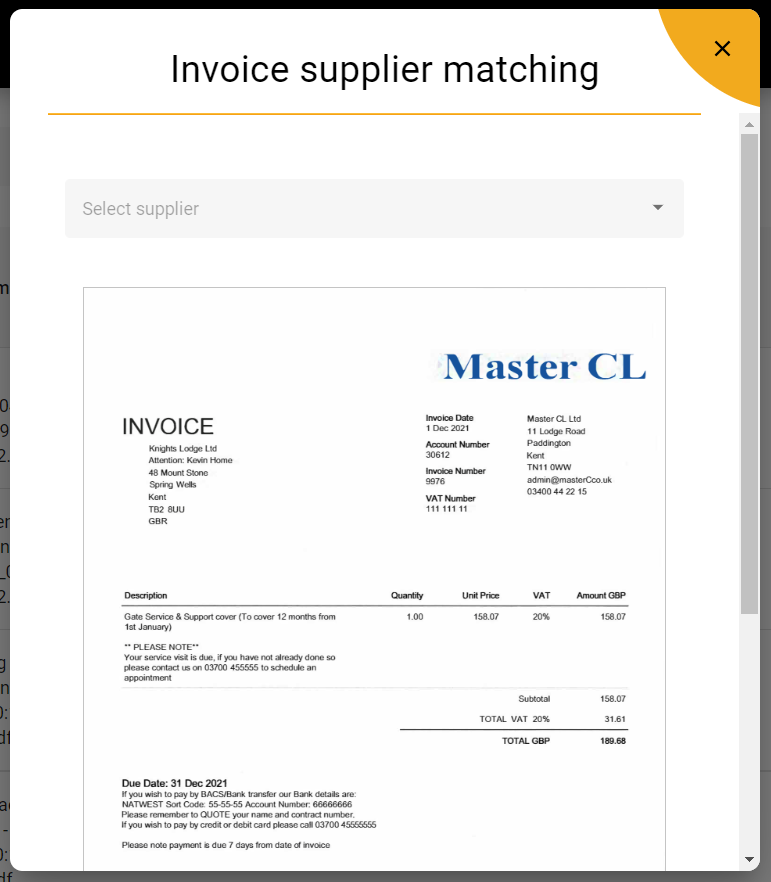
b) Once in To Verify DHUB will try to match suppliers by scanning the invoice for a company name and scanning your saved suppliers, and their linked Blocks. Initially, DHUB will begin to intelligently learn your business and your suppliers. If it doesn't automatically link to a supplier - you will have to do this manually.
c) After that, you click the invoice again and move to verification screen - DHUB will automatically try to match recognised text with the invoice fields

* Mandatory things to select:
- Property - without it you will not be able to complete any of the below
- Bank Account
- Item Schedule (for every invoice item)
- Item Category (for every invoice item)
Helpful Tip:
- If you put a number under VAT it will treat it as a £ amount. Placing a % after this number, will treat it as a percentage instead.
d) If you would like to 'teach' DHUB how to recogniSe fields on the invoice in future you can use 'Rematch Field' button in the bottom left corner of Verification Screen:

e) After saving DHUB will check for duplicates and if none were found it will move it to Processed tab (and automatically send it to Resident if that option is on)
f) If duplicates were found it will highlight the other duplicate invoices for you, you can view these are decide to either reject or continue at this final stage.